I don't know what it is about Halloween that makes me so giddy. I think it has to do with all the extra decorations & preparations that go into it all, it's basically like the Christmas of weird, & my favorite decoration of them all is the pumpkin. While I've done my fair share of carving, this year I wanted to try something new & as luck may have it one of my good friends shared a link with me that spawned my inspiration... GLITTER PUMPKINS. It was a sign, a big shiny, sparkly sign.
What you need:

Pumpkins, Elmer's Glue, Paint Brush, Glitter, Shoe box, Hot Glue & Hot Glue Gun & Rhinestones


Start by taking a clean pumpkin & place it inside of your shoe box. Using the brush, paint on some glue to a section of the pumpkin, then sprinkle glitter over that section.

Repeat this same process around the pumpkin until it is covered in glitter.

As a glitter rule of thumb, it is best to lay something down under your working space to catch the extra glitter bits that fall around your project. Then when you are done with that color, you can pick up the extra glitter and funnel it back into your container to reuse at a later time.

So I did two small pumpkins with this process, one in an all orange glitter and the second in a gold and orange glitter.

Then for my big pumpkin I wanted to do something a little bit more creative. So with a pencil I drew a spider & then using my hot glue gun and rhinestones I glued on a sparkly spider.
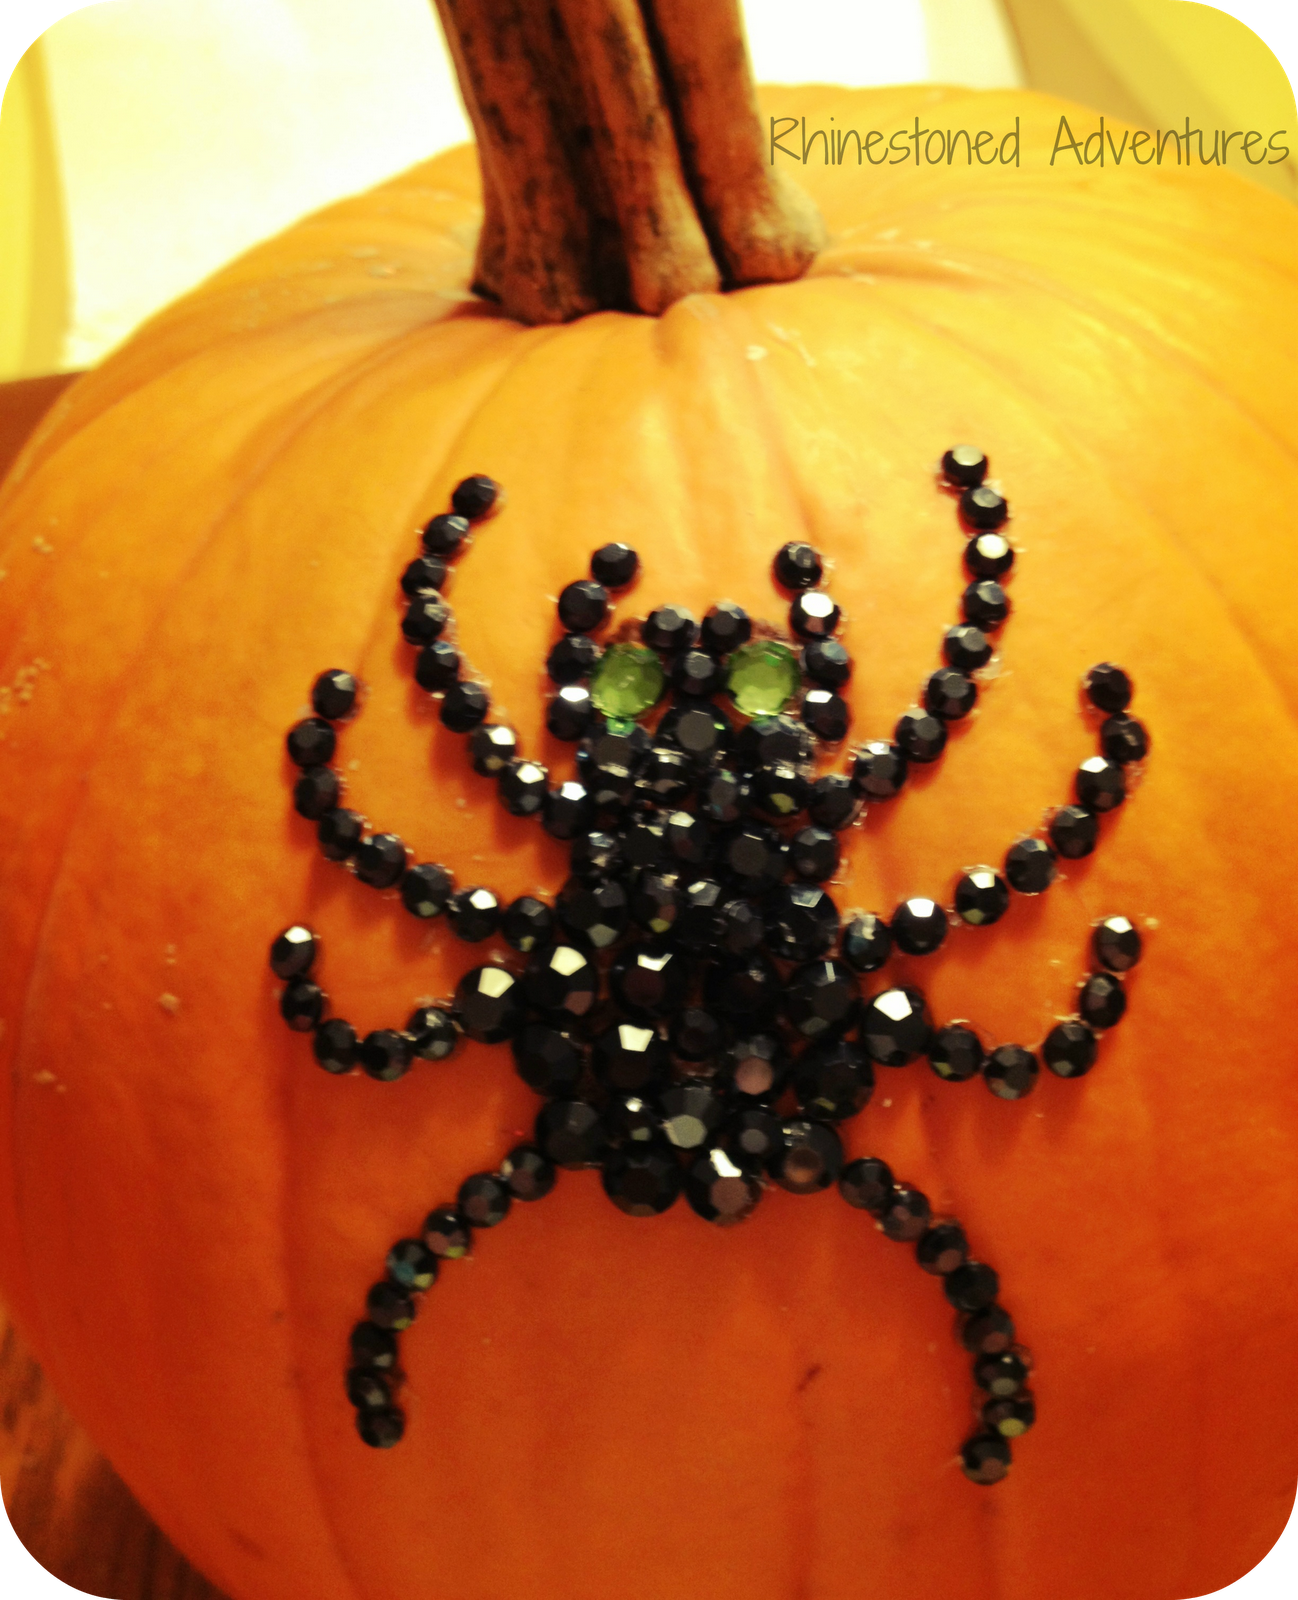
Then using the glue bottle, I drew a few lines down the pumpkins natural curves, & connected them like a spiders web.


Then using a silver glitter, I covered those lines. I also covered the stem in green glitter.

Then I took some of those silly spider rings and glued them around the pumpkin.

& finally I put them outside on the front step for the trick-or-treaters to enjoy!


No comments:
Post a Comment