Showing posts with label Cheshire. Show all posts

Monday, March 26, 2012

Purple Luxe


Here's a look at one of Essie's new Luxe Effect polishes, shine of the times. I LOVE this polish, it contains slightly larger flakes then traditional glitter. It has this amazing iridescent quality which can pick up so many different colors. It actually reminds me a lot of the mineral Mica. (What up 4th grade geology!?)
It looks great paired with pinks & reds or blues & in this case purple! 


What you need:


Essie Luxe Effects shine of the times w  Funky Fingers Cheshire


Start with 2 coats of Funky Fingers Cheshire.


 Then add on a coat of Essie Luxe Effects shine of the times & your favorite quick dry top coat.


Here is a few more looks in different lighting so you can see the full spectrum of colors this polish gets! 


 I wanted to show you how this pairs with a pink polish; so here is a quick look of shine of the times paired with Essie eternal optimist as a base.


On Pinterest? Repin here or here


Sunday, February 19, 2012

Cheshire Cheetah


Here is a purple spin on a cheetah print nail. I felt like Katy Perry fell down the rabbit hole with this nail look. ;) Enjoy.

What you need:


Funky Fingers Cheshire w Sally Hansen Insta-Drw Essie to buy or not to buy wFunky Fingers Paparazzi wVery small detailing paintbrush

Start with two coats of Essie to buy or not to buy


I don't know what is "not to buy" about this polish it's spectacular. From afar it appears to be a nice lilac purple, but once you get up close and personal you can see that there tiny specks of magenta and blue glitter in the polish. Hard to catch on camera but amazing to the naked eye!


On my accent nails I  just added a few random dots of Funky Fingers Paparazzi, Make sure you leave some space in between.


Using Funky Fingers Cheshire, take your paintbrush and with very little polish begin dotting some 'C' shapes around the Paparazzi dots.
 You can make them look like (parenthesis) or just do one C shape per dot. Mix it up. You can also make random dots to fill in any space that looks empty. 
(tip, don't load the paint brush with lots of polish, less is more, using a stippling technique to control the shape and size of the C's) 


Finally top it off with your favorite quick dry top coat & voilĂ ! The Cheshire cheetah.


On Pinterest? Repin Here!


Saturday, February 4, 2012

Reverse Glitter French

Hey! So if you are one of my 'real life' friends I posted this on my facebook not so long ago, I decided to revisit it, to show you exactly how I got this look.


What you need:


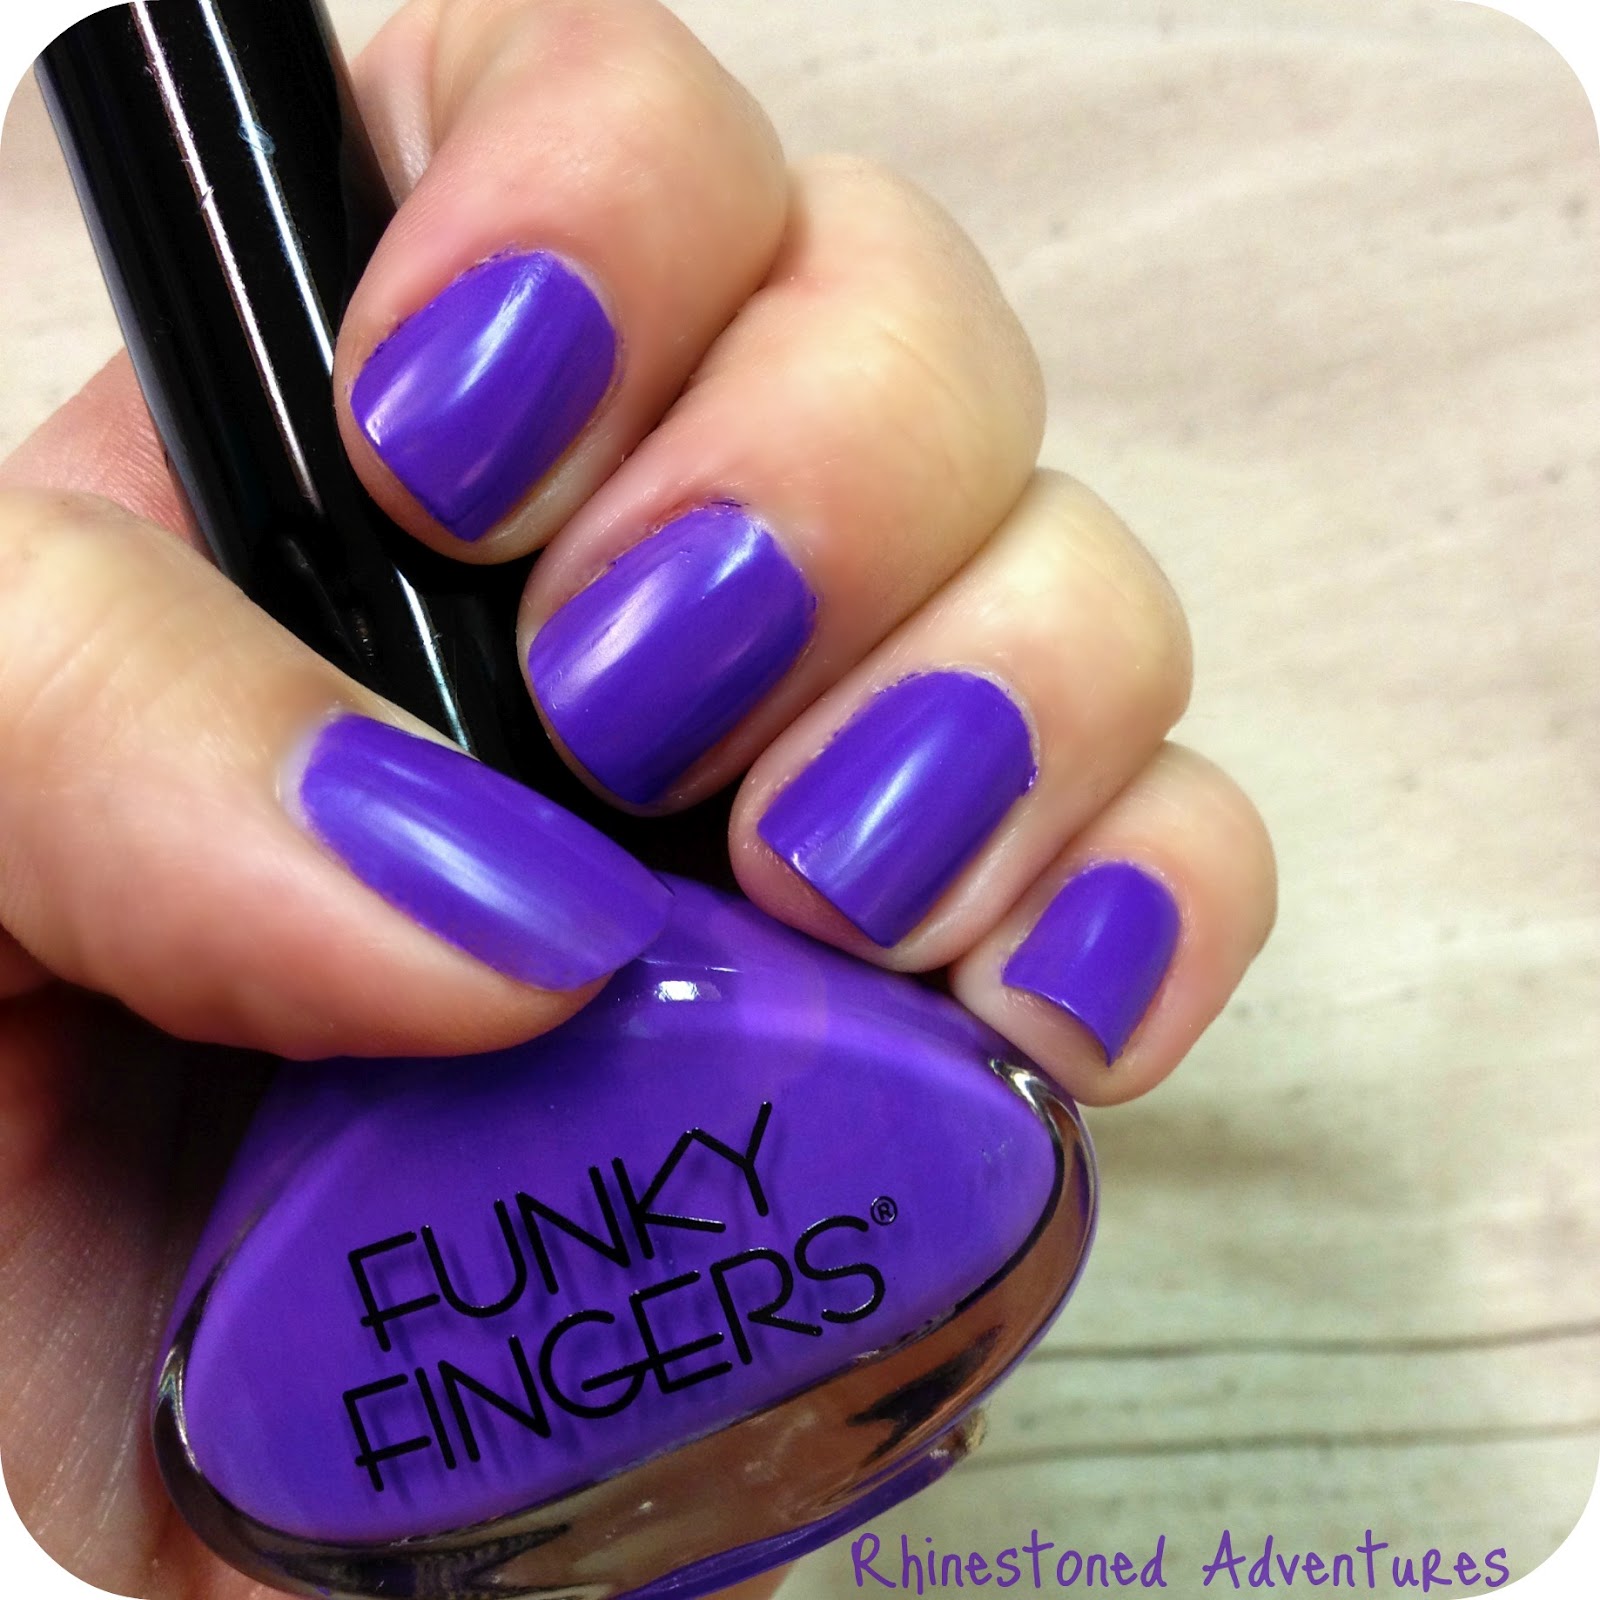
Funky Fingers - Sand & Stilettos w Sally Hansen Complete Salon Manicure  - Commander in Chic 
wFunky Fingers Cheshire  w Sally Hansen Insta-Dri w paint brush 1/8"

Start with one coat of Funky Fingers - Cheshire


Next you want to add 1 coat of Sally Hansen Commander in Chic; paint about 1 cm  away from your cuticle to reveal the base coat.


While you let that 2nd coat dry, you are going to want to prep your paint brush. 


Start by painting on a small amount of glitter polish to the end of your brush,


 Press the paint brush together using your fingers so you can create a flat, small surface. 
(you will get a little glitter polish on your fingers but you can always wipe away with remover later) 


Let the paint brush dry (glitter polish usually dries super fast anyway) & you will have a semi stiff brush tip which will help you control where the glitter is going to go.


When your ready, begin by painting the glitter polish to you brush just along the paint brush tip. 
(Don't dip your paint brush into to your polish bottle! This will give you too much polish to control.)

Gently dab the glitter polish along the Cheshire line that you created earlier (you may have to reload your paint brush once or twice with more polish for each nail.)


Finally add on your top coat all over the nail including the glitter portion. 


& there you have it, the reverse glitter french! 


On Pinterest? Repin this look Here!


My original inspiration for this came from 'Love Maegan's blog, you can see how she did it, if you click here, I however changed it up a little bit, mainly because Martha Steward Glitter Pens are wayyyy over priced and lets face it, I'm broke as a joke.