Showing posts with label Essie. Show all posts

Friday, December 28, 2012

Go Nude for New Years...

...of course by nude I mean your nail polish.

New Years is always a time to start fresh, & sometimes that means keeping it basic. Now most of the time when I think of New Years I think of sparkles, sequins & shiny confetti, however this year I wanted keep it sleek & simple; nude polish was the answer. 

Now I realize I have been MIA for the past two months, but I'm going to make it up to you by giving you three ways to go nude this New Years. 


The first look is a spin on the Half Moon nail look.

What you need:


Urban Outfitters Nude 5 w Funky Fingers Star-Studded w Reinforcement Labels w Base Coat w Quick Dry Top Coat

Start with a base coat to protect your nails from the glitter polish
 & then add 1-2 coats of Funky Fingers Star-Studded.


When the glitter dries place the Reinforcement Labels at the base of your nails. Then paint over the remaining part of your nail with Urban Outfitters Nude 5. Remove the reinforcers after painting and allow nails to dry. Then add your favorite top coat. 


voilĂ !


The next two looks are going to use sand tropez by Essie.


 This is a great color on it's own even without any New Years glitz.  


When your sipping on your champagne this New Years it's always good to remember to use proper etiquette. When in doubt, pinky out. 

What you need:


Essie sand tropez w  Essie as gold as it gets w Quick Dry Top Coat

Start with 1-2 coats of sand tropez


Then add 1-2 coats of as gold as it gets to your pinky finger to give this look a subtle glitz.


Finally this last look will dress up your nails with an frosty white ombre.

What you need:


Essie sand tropes w Essie east hampton cottage w Make-up Sponge w Quick Dry Top Coat


Start with 1-2 coats of sand tropez. Then using a make-up sponge apply a thin layer of east hampton cottage to the edge of the sponge.


Then beginning half down your nail, gently dab the end of the sponge on to your nail. Let it dry. Then moving about a centimeter up your nail repeat this process. I did this about 4-5 times. These layers will dry quickly & will not consume as much drying time as traditional coats. 


Then add some top coat & you will have frosty tips to ring in the New Year. 


On Pinterest? Repin here!

Sunday, July 15, 2012

Purple Polka-Dot Perfection


I'm Back! Forgive my brief absence from the blogosphere, my summer has been quite busy filled with road trips, music festival adventures, & well work... but I all that aside I still had my blog on my mind. I'm still debating doing a post about my adventures at Electric Forest, but I'm thinking I should just leave it a mystery & force you curious cats to venture out there next summer to join me! (If you really wanna know what went down, gimme a call and we can chat!) All you need to know is that it was worth it. 
 Ok back to business...

What you need:


 Essie play date w Funky Fingers Sand & Stilettos w Sally Hansen Diamond Flash w Funky Fingers Paparazzi w Essie no more film w Bobby pins

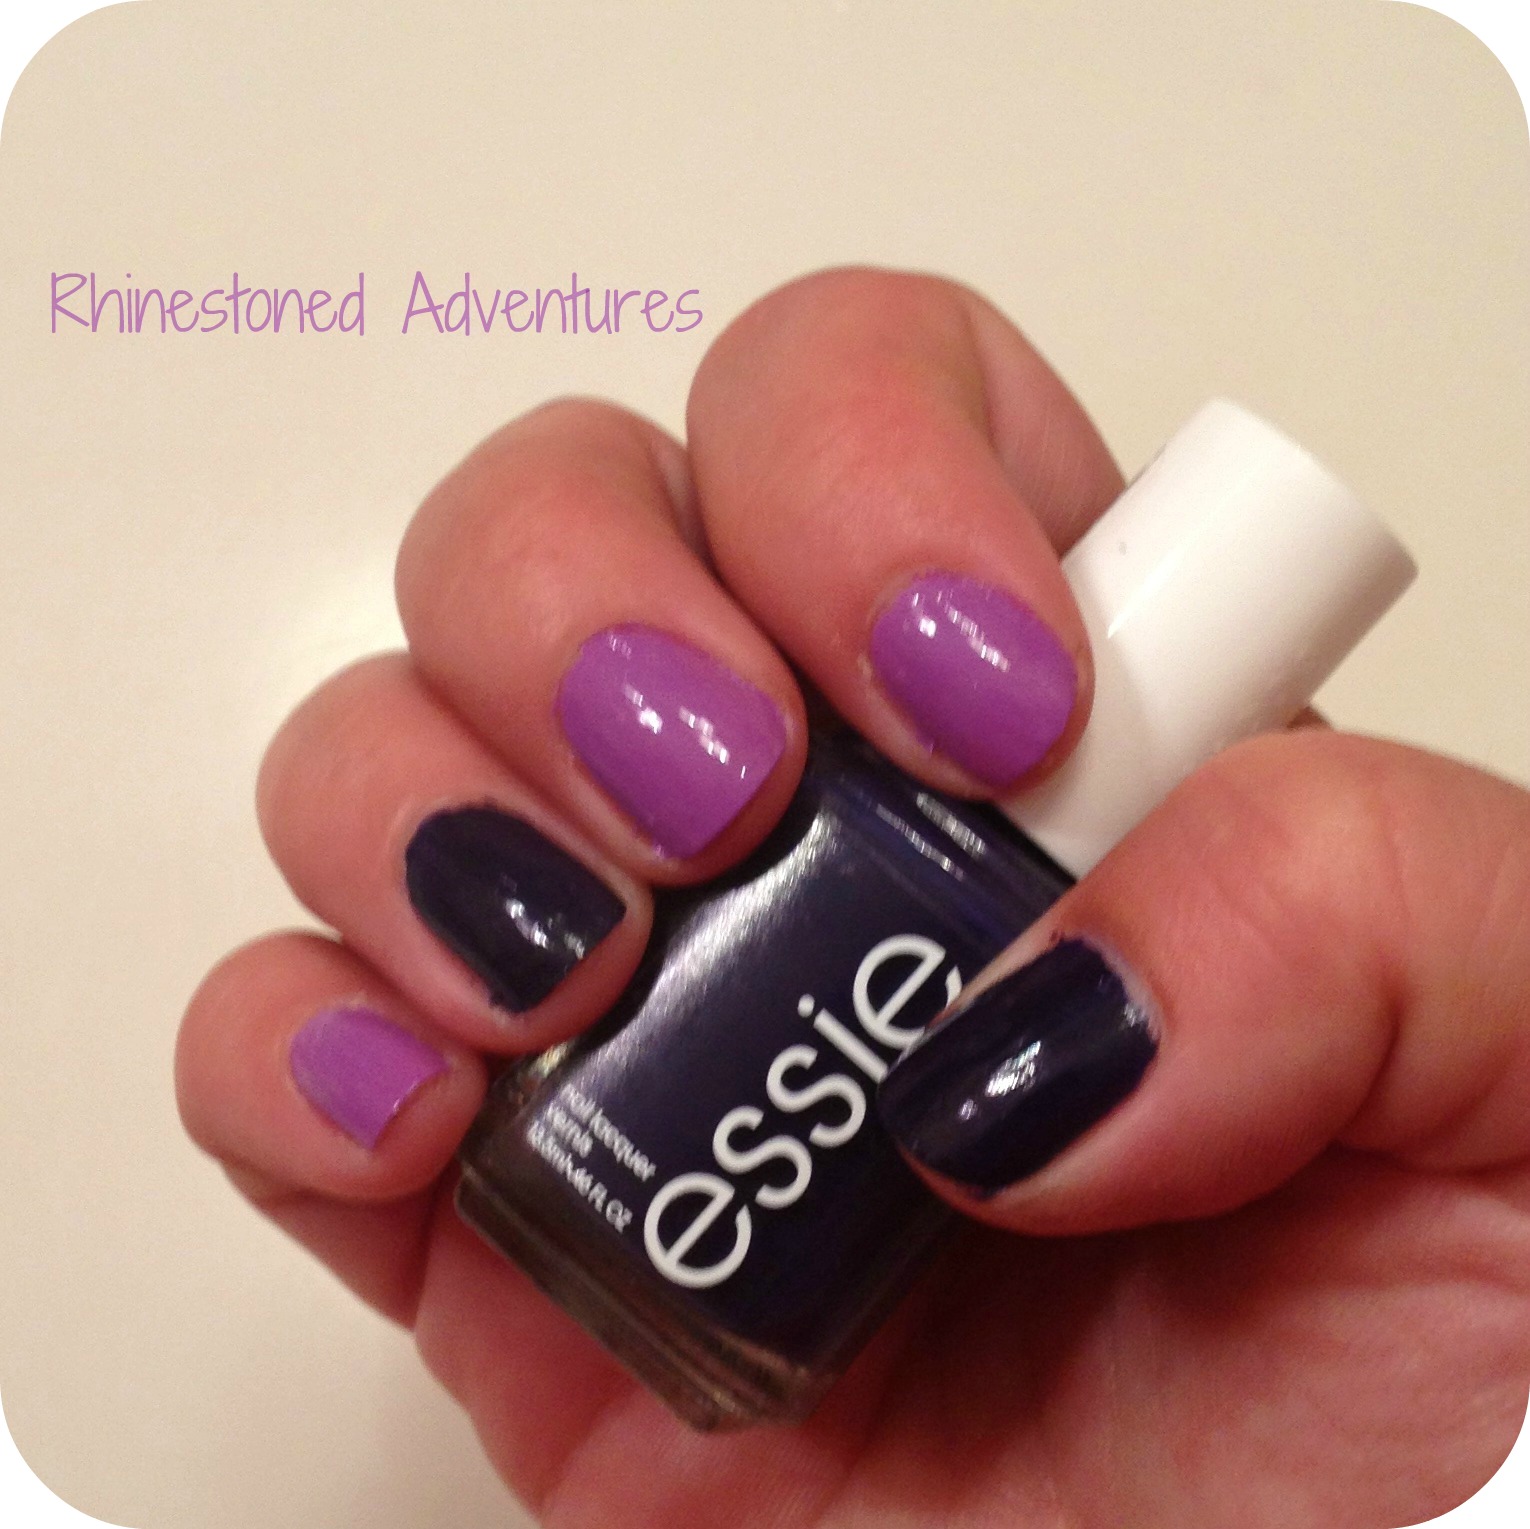
So I started with a mixed accent on each hand. On my left hand I have play date as the accent color & on my right I have no more film as the accent color.


Then using the bobby pin dotting tool technique, found here, I dotted my accent nails. I paired play date with  Sand & Stilettos  & no more film with Paparazzi. 

 For the pairings, I found that Paparazzi & no more film both had indigo & blue undertones while play date & Sand & Stilettos both carried a pink shade. 


You are going to to want to use one side of the bobby pin for each nail. The lacquer will eat away at the plastic part of the bobby pin after awhile, so in order to keep your dots nice & round & avoid asymmetrical shapes I would alternate bobby pin ends for each nail.


Then the glitter got the best of me (which it always does) & I put a coat on each nail using the same pairings. 


Then I topped it off with Sally Hansen Diamond Flash Top Coat. For the dotted nails you will probably want to do a double layer of top coat to avoid any weird textures... eek.


On Pinterest? Repin here!


Monday, June 11, 2012

Save Bottle, Rock an Ombre

Ok up-cycle lovers I'm giving the 'ok' to embrace your inner hoarder (well not really, but...)
If you hate throwing old nail polish bottles away I have a solution that may ease your inner turmoil. 
Save them, clean them out & then fill them back up with new custom colors! Hooray!

So one of my old roommates from college got married recently & for her wedding I decided to wear a slate grey tiered pleated dress, & I wanted my nails to compliment the look. I decided on the ever so popular ombrĂ© look.  


I used two different colors to achieve this look & then added some glitter polish for my lack of wedding ring bling ;)

What you need:


Essie Power Clutch w MILANI one coat glitter Silver Dazzle w Sally Hansen xtreme wear Wet Cement w Old Top Coat Bottle (empty & clean) 

First thing I did was the mixing of my colors.

I used an empty bottle of top coat to mix my first color (which for blogging purposes we will call 'Power Cement'). For this color I mixed equal parts Power Clutch & Wet Cement. I probably used 4 -6 drops of each. The reason I did this is because I wanted a lot of polish leftover to mix for the next color. 

Power Clutch w 'Power Cement' w Wet Cement 


Then I used this random piece of left over plastic packaging to mix the next color in the ombrĂ©. I mixed equal parts 'Power Cement' & Wet Cement to make the fourth & final color: 'Wet Clutch'.


Now because this color wasn't mixed in a bottle it requires that you apply it right away. (which I did,  straight on to my ring fingers) I covered it up with some cling wrap in-between coats to prevent it from drying up.

The Break Down:


Nail 1: Power Clutch
Nail 2: Wet Cement
Nail 3: 'Power Cement' (1+2)
Nail 4: 'Wet Clutch' (3+2)
Nail 5: Power Clutch & Silver Dazzle 

:)

(Disclaimer: If you are someone with a texture issue when it comes to glitter polish, be prepared to use about 2-3 coats of top coat over any MILANI one coat glitter polish. Looks great but feels like sandpaper.)


On Pinterest? Repin Here!

Saturday, May 19, 2012

Flawless French

Ahh the art of a DIY french manicure. There are many different methods out there (some of them may even lead you to calling your manicurist for the next available appointment)  but this one has worked the best for me. Now I know you can use scotch tape to help you make a nice crisp line for your french, but I however like to rock the 'squoval' or round shape on my nails & sometimes a straight line tip just looks off; & I also know there is a special nail tape that has a round shape to it specifically for a french, but that can be a bit pricey. This method lets you customize the shape of your french without any tape, it is a super quick & easy way to help you conquer your DIY french difficulties (yes, even on your right hand!)

What you need:

Sally Hansen Xtreme wear White On wEssie Mademoiselle w Essie Good to Go
Flat Paint Brush w Nail Polish Remover w Cotton Ball


Using Sally Hansen White On, paint on the tips for your french. Do Not Stress about making this perfect! If it's a little messy or the edges are not perfect, it's ok! 


(You can go a head onto the next step if your in a rush, but I would recommend that you wait about 5 minutes to let the tips dry completely first. I find that the remover becomes easier to control when the paint is dry & you won't have to worry about any runny edges.)


Now on to clean up those edges. Using the bottle of nail polish remover, fill the cap up & dip a flat tip paint brush in. (this type of brush is great for creating lines) Wipe or tap off any excess remover & then place it onto the bare part of your nail.


Using a windshield wiper motion, bring the paint brush up to the white tip. This motion will help clear up any messy edges and help you form a nice natural curve.


As you go along the flat brush will begin to gather up the excess white paint. Re-dip the flat brush in the remover & wipe the paint off with a cotton ball.


Be sure to hold your hand back & notice the thickness & shape of the other nails, you want to have a cohesive feel on you hand.


 Once you are satisfied with the shape of your tips you can add 1-2 coats of Essie Mademoiselle. I think that this is a perfect french color, it has a nice milky pink hue to it that gives a natural feel. Then finish with your favorite top coat. :)


On Pinterest? Repin Here!


Tuesday, April 24, 2012

VAVA VOOM


So this past weekend I attended Bassnectar's VAVA VOOM tour in Rochester, NY. As usual it was an excellent evening of friendships, tunes & dancing, if I don't say so myself. 
When I had bought my ticket a few months back I knew I wanted to do something crazy with my nails. So when I found a glow in the dark polish from OPI online, it was pretty much a done deal. 

What you need:

Essie Power Clutch w Essie Good to Go w OPI Zom-body to Love w Sally Hansen White On
small detailing paintbrush w ziplock bag w paper/pencil 

I knew I wanted my nails to say "BASS HEAD" & have the Bassnectar logo, but, because I don't trust myself to write directly on my nails, I decided to go the DIY nail sticker route. (If you would like to see more on how this is done, Click Here to a previous post where I show you how!) I decided to draw out the logo and letters on a piece of paper first then basically trace them with the paint brush and zip lock bag in between. 

For the logo I put down a layer of top coat first, then I painted the design. This way it would be easier to peel away from the ziplock bag.
For the glow in the dark polish to really glow you want to put down a base coat of white polish. This will help prevent the glow polish from looking streaky as well as keep the total layers of polish to a minimum. When I first got the polish I tried it on my natural nails without a base & it took me 4 layers of polish to get the same effect. 


So I started with one coat of Sally Hansen White On. 
Once that dried I put on 2 coats of OPI Zom-body to Love.


It comes out almost like slime & has a gritty texture when It dries, so be sure to even out the amount of polish you load on your brush.


Let your nails dry in the sunlight & test them in the dark. If you want more vibrant nails add more layers. I was satisfied with 2 coats. 

(For the record this is as far as I got before the concert the final product is what I'm rocking today. So make sure you give yourself enough time ;0) 


Next thing you're going to want to do is carefully peel the stickers away from the ziplock & place them on your nails & seal with top coat. (If you find that the stickers are reluctant to stay in place just lick your nail first, then lay the sticker down & you should be fine)


& there you have it, my nail tribute to Lorin. :)


For more on Bassnectar visit http://www.bassnectar.net/ :)


On Pinterest? Repin Here!


Sunday, April 1, 2012

Two-Tone Diagonals


Here is a color blocking inspired nail look using two different tones of blue along a edgy diagonal. 

What you need:


Essie go overboard  w   Essie turquoise & caicos  w  Essie good to go  w  Scotch Tape


On my left hand I painted my thumb with 2 coats of turquoise & caicos and the rest with go overboard.


Then on my right hand I painted my thumb with go overboard and the rest 2 coats of turquoise & caicos.


Once the nails are dry it is time to add the scotch tape. Take the tape and place it on the back of your hand first to take off some stickiness. Then smooth it along the nail at a diagonal. 


Then taking the opposite color add a coat of polish.


Peel the tape immediately & you should see a nice diagonal line. 
If you feel like it needs a second coat; wait a few minutes for it to dry & repeat the taping process.  


Then add a good helping of top coat & voilĂ  you have a fun and edgy two-toned look.


On Pinterest? Repin here!