Showing posts with label Funky Fingers. Show all posts

Friday, December 28, 2012

Go Nude for New Years...

...of course by nude I mean your nail polish.

New Years is always a time to start fresh, & sometimes that means keeping it basic. Now most of the time when I think of New Years I think of sparkles, sequins & shiny confetti, however this year I wanted keep it sleek & simple; nude polish was the answer. 

Now I realize I have been MIA for the past two months, but I'm going to make it up to you by giving you three ways to go nude this New Years. 


The first look is a spin on the Half Moon nail look.

What you need:


Urban Outfitters Nude 5 w Funky Fingers Star-Studded w Reinforcement Labels w Base Coat w Quick Dry Top Coat

Start with a base coat to protect your nails from the glitter polish
 & then add 1-2 coats of Funky Fingers Star-Studded.


When the glitter dries place the Reinforcement Labels at the base of your nails. Then paint over the remaining part of your nail with Urban Outfitters Nude 5. Remove the reinforcers after painting and allow nails to dry. Then add your favorite top coat. 


voilĂ !


The next two looks are going to use sand tropez by Essie.


 This is a great color on it's own even without any New Years glitz.  


When your sipping on your champagne this New Years it's always good to remember to use proper etiquette. When in doubt, pinky out. 

What you need:


Essie sand tropez w  Essie as gold as it gets w Quick Dry Top Coat

Start with 1-2 coats of sand tropez


Then add 1-2 coats of as gold as it gets to your pinky finger to give this look a subtle glitz.


Finally this last look will dress up your nails with an frosty white ombre.

What you need:


Essie sand tropes w Essie east hampton cottage w Make-up Sponge w Quick Dry Top Coat


Start with 1-2 coats of sand tropez. Then using a make-up sponge apply a thin layer of east hampton cottage to the edge of the sponge.


Then beginning half down your nail, gently dab the end of the sponge on to your nail. Let it dry. Then moving about a centimeter up your nail repeat this process. I did this about 4-5 times. These layers will dry quickly & will not consume as much drying time as traditional coats. 


Then add some top coat & you will have frosty tips to ring in the New Year. 


On Pinterest? Repin here!

Sunday, July 15, 2012

Purple Polka-Dot Perfection


I'm Back! Forgive my brief absence from the blogosphere, my summer has been quite busy filled with road trips, music festival adventures, & well work... but I all that aside I still had my blog on my mind. I'm still debating doing a post about my adventures at Electric Forest, but I'm thinking I should just leave it a mystery & force you curious cats to venture out there next summer to join me! (If you really wanna know what went down, gimme a call and we can chat!) All you need to know is that it was worth it. 
 Ok back to business...

What you need:


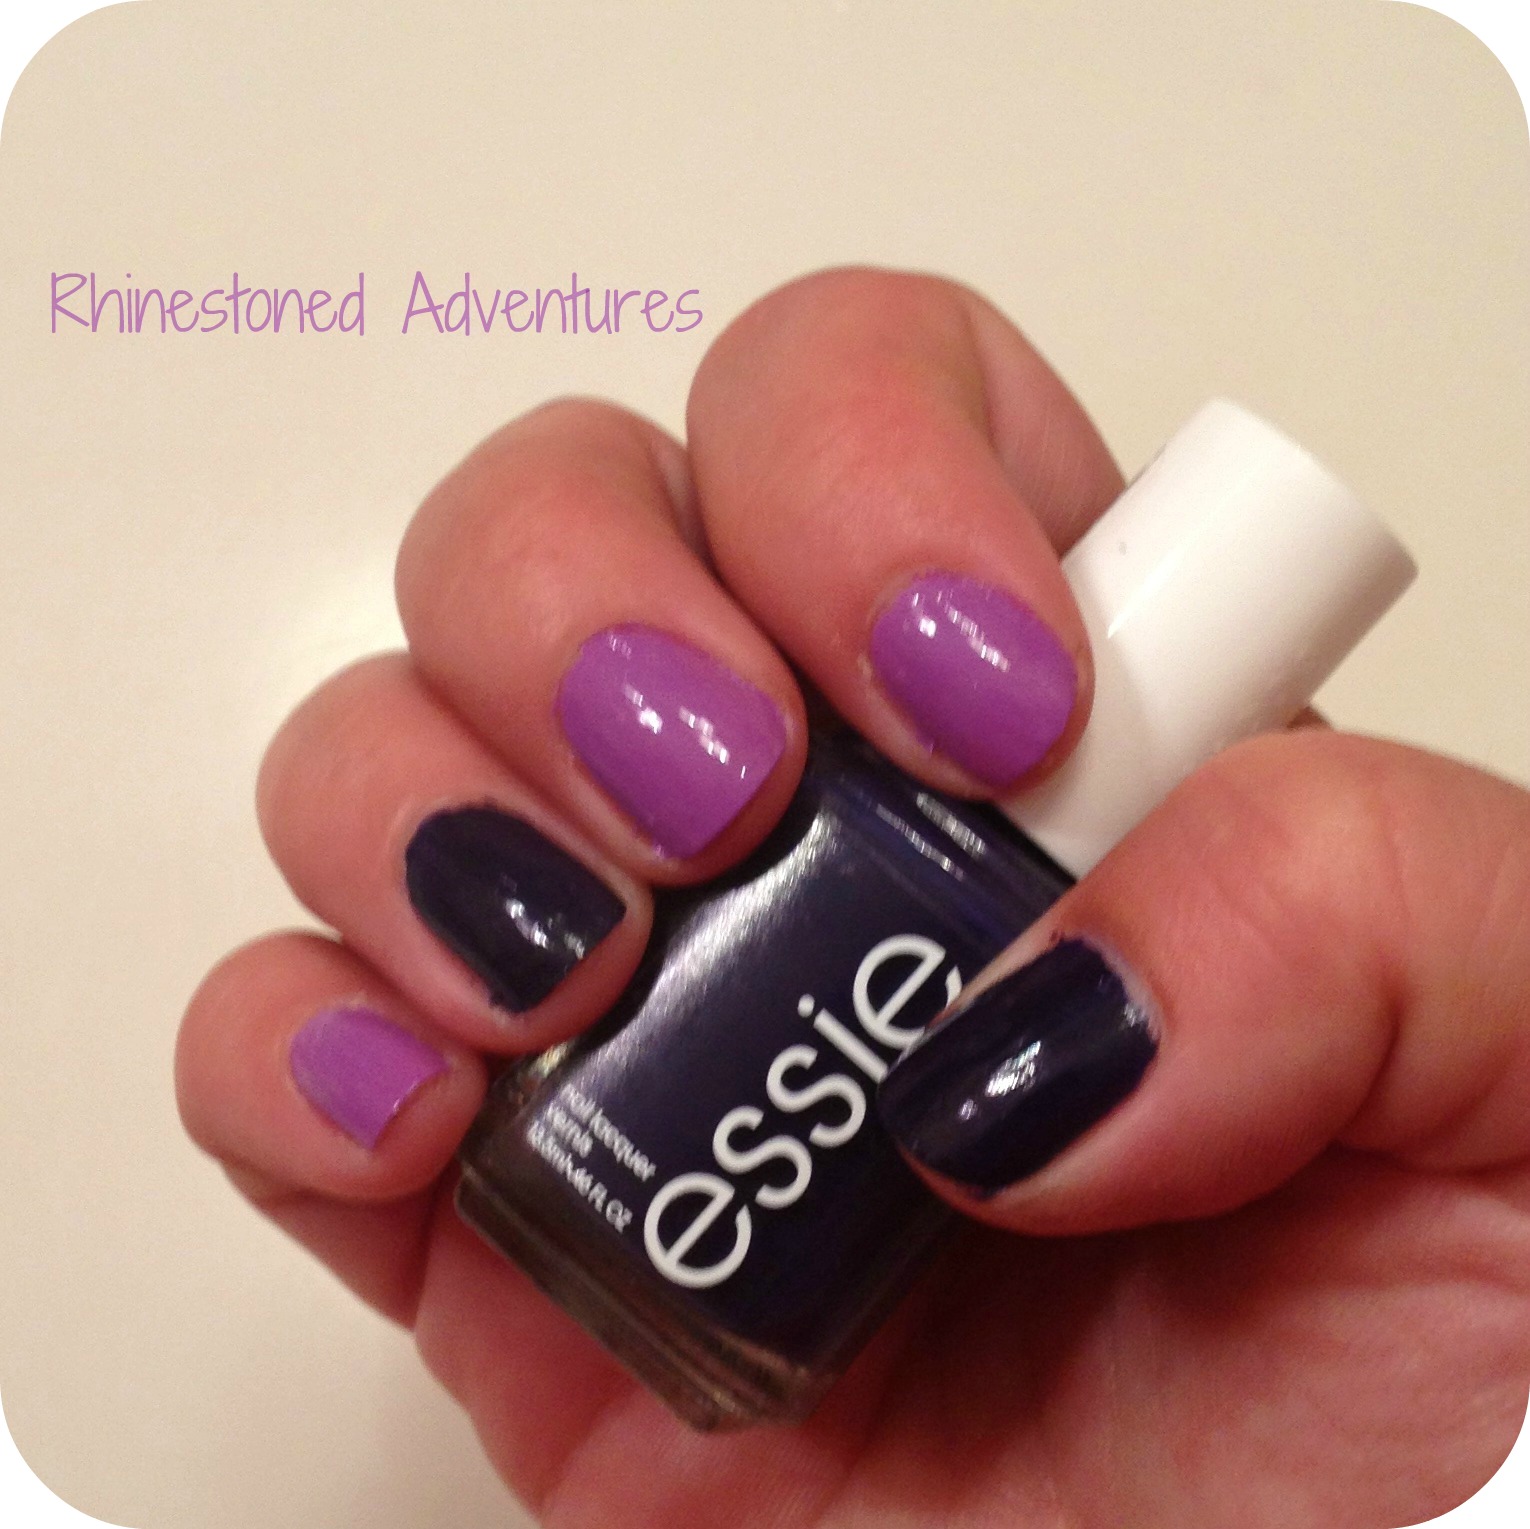
 Essie play date w Funky Fingers Sand & Stilettos w Sally Hansen Diamond Flash w Funky Fingers Paparazzi w Essie no more film w Bobby pins

So I started with a mixed accent on each hand. On my left hand I have play date as the accent color & on my right I have no more film as the accent color.


Then using the bobby pin dotting tool technique, found here, I dotted my accent nails. I paired play date with  Sand & Stilettos  & no more film with Paparazzi. 

 For the pairings, I found that Paparazzi & no more film both had indigo & blue undertones while play date & Sand & Stilettos both carried a pink shade. 


You are going to to want to use one side of the bobby pin for each nail. The lacquer will eat away at the plastic part of the bobby pin after awhile, so in order to keep your dots nice & round & avoid asymmetrical shapes I would alternate bobby pin ends for each nail.


Then the glitter got the best of me (which it always does) & I put a coat on each nail using the same pairings. 


Then I topped it off with Sally Hansen Diamond Flash Top Coat. For the dotted nails you will probably want to do a double layer of top coat to avoid any weird textures... eek.


On Pinterest? Repin here!


Thursday, May 3, 2012

Mint Julep Mani


No copyright infringement intended. 


To celebrate this years Kentucky Derby I decided to do a Mint Julep inspired nail look.

No copyright infringement intended
The $1,000 Mint Julep is the most iconic drink of the derby. Served in a gold plated cup it is an instant eye catcher & separates the high rollers from the gambling enthusiast. Now if the $1,000 tab is bit to rich for you blood, I suggest you throw on your biggest hat, mix up the cocktail at home & paint your nails in spirit. (that's what I'll be doing anyway

No copyright infringement intended

What you need:

Funky Fingers Mrs. Mint  w  Funky Fingers Down to Earth  w Funky Fingers Star-Studded
Bobby Pin w  Toothpick


Start with a base of Funky Fingers Mrs. Mint. This mint color is great for this look because it has a crushed gold undertone. 


 Open up your bobby pin and paint the end with Funky Fingers Down to Earth. Use this a a dotting tool along the bottom of your nail. Then take a tooth pick & drag some lines of paint at a diagonal.


Then once you have the shape you like, repeat the 'dot & drag' process with Funky Fingers Star-Studded for a glitzy look. 


Then make sure to top it off with some top coat & you'll be ready to cheer on those ponies with the best of them. 


Mint Julep Recipe 
No copyright infringement intended
Recipe courtesy of Drinks Mixer
2 oz Woodford Reserve® bourbon whiskey
1 oz water
1 tsp cube white sugar
4 fresh mint sprigs
Muddle 3 mint sprigs, sugar and water in bottom of Julep cup or highball glass and fill with crushed ice. Fill with bourbon, stir. Dust 4th mint sprig with powdered sugar for garnish. Serve with straw.

Monday, April 30, 2012

Just Another 'Manic Mani'


Ready for some fun spring & summer colors? Well I am, so I decided to give the 'manic mani' a go. The idea behind this look is to use 3-4 different polishes in same ball park hue & then paint them in a random order. Similar to the ombre but instead of having a nice gradation of color from nail to nail, this look allows for a little bit more room for interpretation. 

What you need:


 Orly VA VA VOOM w Orly Hot Shot w Funky Fingers Mighty Brights (pink) w Funky Fingers Kingston w Essie Good to Go


This look is great if you have some similar shades & you can't decide which color to choose between or if you're having a quick lapse of multiple personality disorder! ;0)


Happy painting!


On Pinterest? Repin Here! or Here!

Monday, March 26, 2012

Purple Luxe


Here's a look at one of Essie's new Luxe Effect polishes, shine of the times. I LOVE this polish, it contains slightly larger flakes then traditional glitter. It has this amazing iridescent quality which can pick up so many different colors. It actually reminds me a lot of the mineral Mica. (What up 4th grade geology!?)
It looks great paired with pinks & reds or blues & in this case purple! 


What you need:


Essie Luxe Effects shine of the times w  Funky Fingers Cheshire


Start with 2 coats of Funky Fingers Cheshire.


 Then add on a coat of Essie Luxe Effects shine of the times & your favorite quick dry top coat.


Here is a few more looks in different lighting so you can see the full spectrum of colors this polish gets! 


 I wanted to show you how this pairs with a pink polish; so here is a quick look of shine of the times paired with Essie eternal optimist as a base.


On Pinterest? Repin here or here


Monday, March 19, 2012

Peachy-Keen


The first official day of spring arrives tomorrow & here is a new nail look to bring in the season! 


What you need:


Funky Fingers Star-Studded w Funky Fingers Down to Earth w Essie A Crewed Interest

I started with 1 coat of Funky Fingers 'Down to Earth' on my accent nails & then 2 coats of Essie 'A Crewed Interest' on the remaining nails. This color has a great peachy hue, it's more on the orange side then pink. Very bright and sunny. 


Then I added 1 more coat of 'A Crewed Interest' (just to bring out a bit more richness in the peach color) then 2 coats of Funky Fingers 'Star-Studded' to the gold accent nails, followed by some quick dry top coat. 


On Pinterest? Repin Here!


Wednesday, March 14, 2012

End of the Rainbow

I just can not seem to get enough of my gold polishes lately! Here is a quick look at this St. Patty's Day 'pot of gold' look.

What you need:


Funky Fingers Down to Earth w Funky Fingers Star-Studded

Start with 2 coats of Funky Fingers Down to Earth


Then add 2 coats of Funky Fingers Star-Studded to your accent nails & top off with your favorite top coat!


Enjoy!

(Disclaimer: this glitter polish will take you forever to get off so plan on rocking it for as long as you can!)


Did I mention this pairs great with a Glitter Bombed EOS ?! ;)


On Pinterest? Repin Here, Here, orHere!